This tutorial will show you how to add a breathing effect to a character. Make sure you checked out the basic guides for the Editor and Scene Wallpaper!
Preparation[]
- Open the Editor.
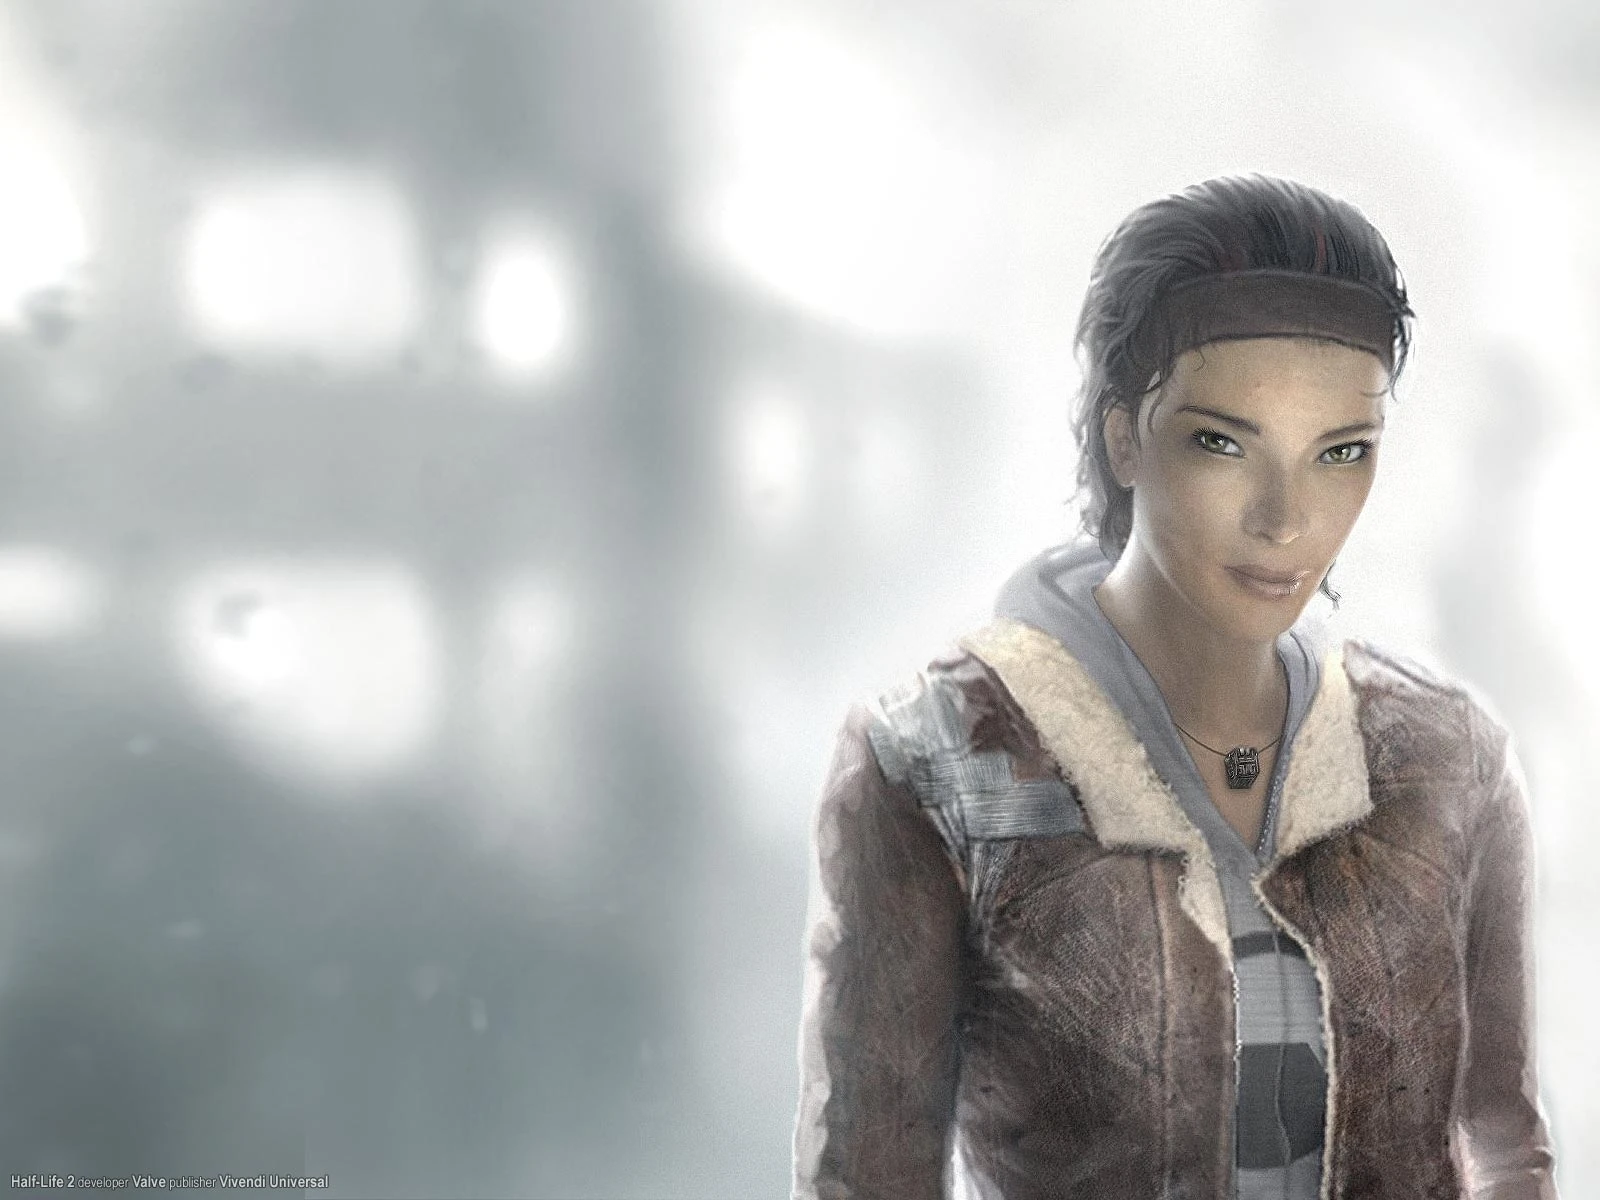
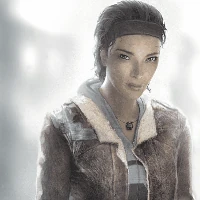
- Get an image you want to animate, for example this:

Import the Image[]
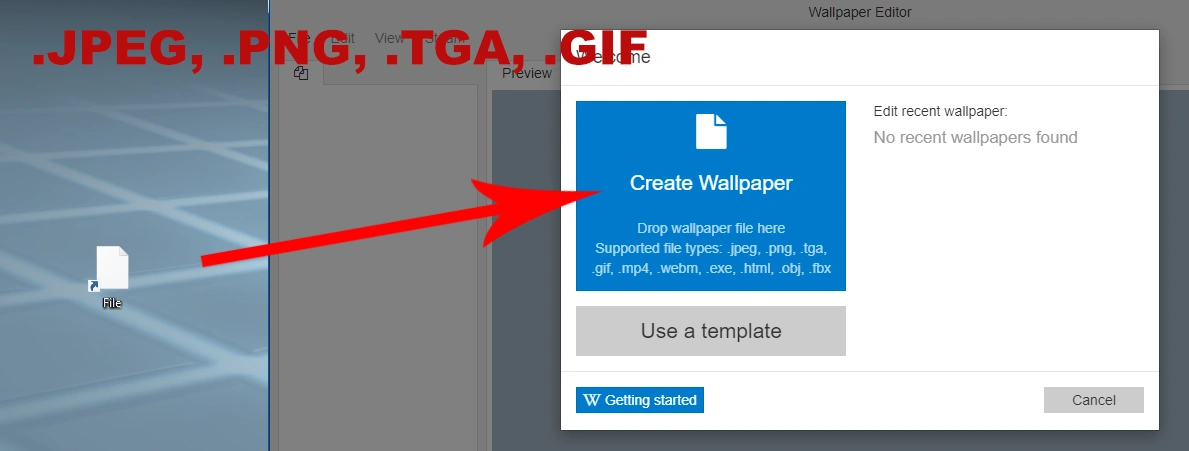
Drag and drop the image into the editor.

The project name and scheme color will be automatically set, you can change them if you like. Press OK to import the image and create the wallpaper.

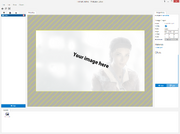
A new wallpaper will be created and the image should become visible.
Animate Breathing[]

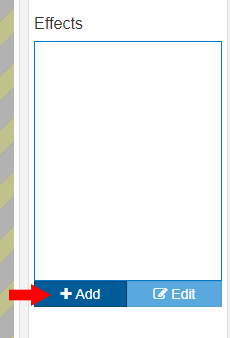
Select the image on the left and then click Add in the effects menu to add a new effect.
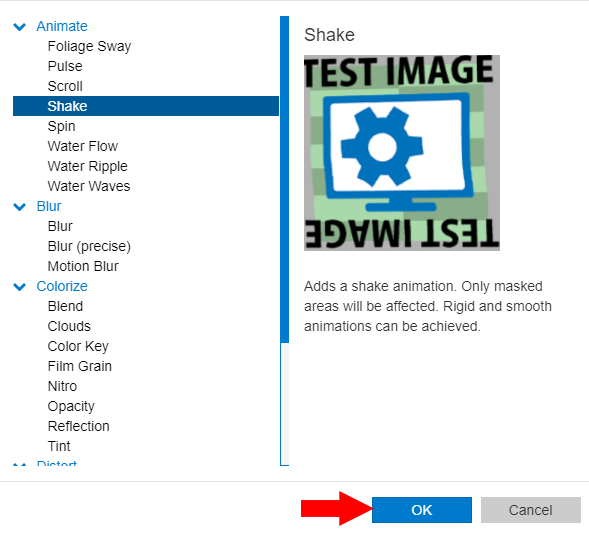
Add the shake effect from the menu.

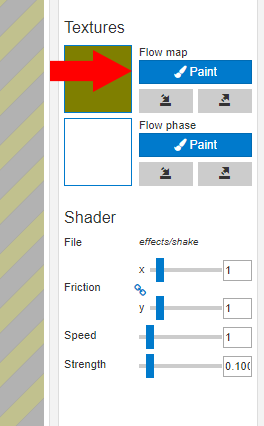
Click on paint near the flow map at the top right.

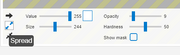
The paint options will now show up. Choose the spread mode on the left and increase the size of the brush. Reduce the opacity to achieve a smoother result too.

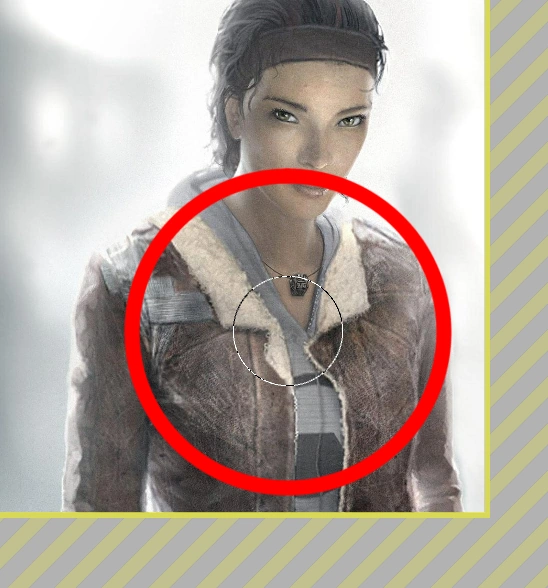
Start painting the effect on the chest and near the shoulders by clicking and holding the left mouse button. You can undo paint strokes with CTRL+Z or the left arrow in the paint menu. You should have a smooth breath animation on the chest after this step.
Animate Arm and Head Movement[]
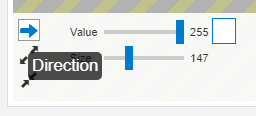
To further improve the effect, we will add some movement to the arms and head. While still editing the flow map, change the paint mode back to direction.

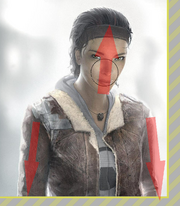
Move downwards on the arms and upwards on the head like on the picture, this will create a motion that fits well to the breathing effect.
Make sure to press OK in the paint menu to save your edits

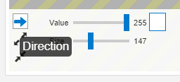
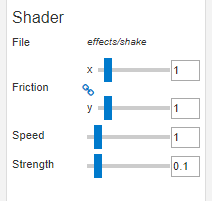
You can now optionally edit the settings on the right to control the speed and strength of the shake effect. For this picture, the default settings work well enough.
Result[]
💡 Pro tip: You can delay the head movement a little by also painting the Flow phase texture of the effect. Just paint a value of about 230 - 240 where the head is, this will make the motion look more natural