This tutorial will show you how to add a subtle wind animation to fur. Make sure you checked out the basic guides for the Editor and Scene Wallpaper!
Preparation[]
- Open the Editor.
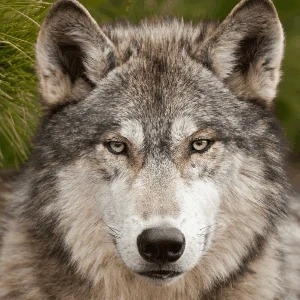
- Get an image you want to add clouds to, for example this:

Import the Image[]
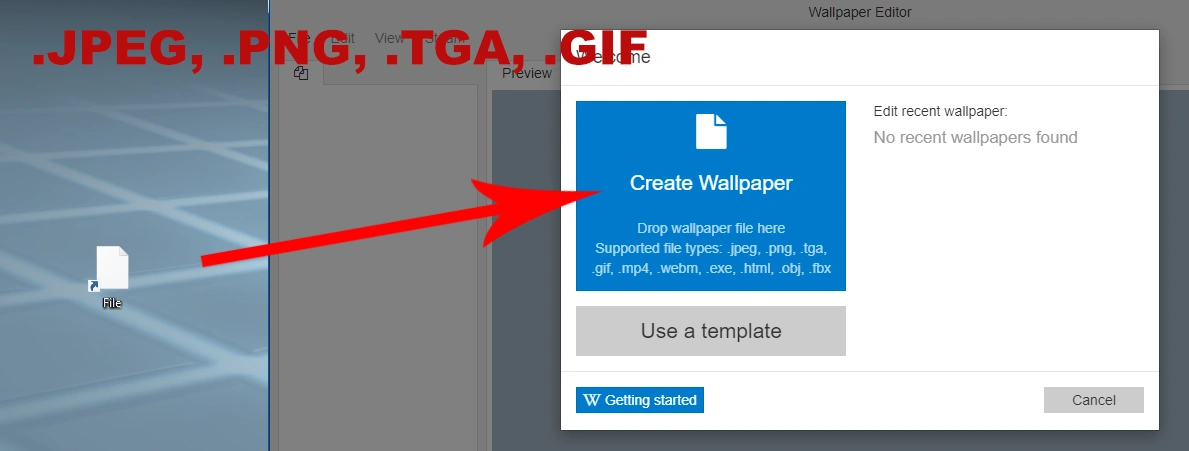
Drag and drop the image into the editor.

The project name and scheme color will be automatically set, you can change them if you like. Press OK to import the image and create the wallpaper.

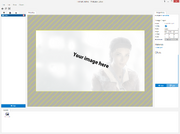
A new wallpaper will be created and the image should become visible.
Add Fur Animation[]

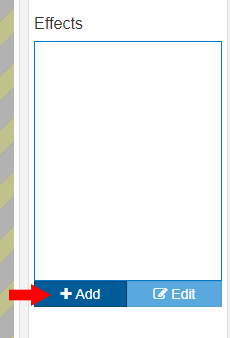
Select the image on the left and then click Add in the effects menu to add a new effect.

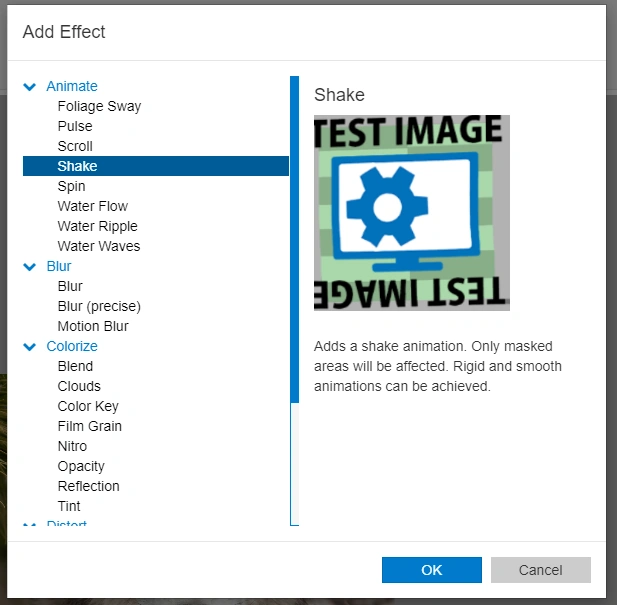
Choose the Image Effect Shake and click OK.

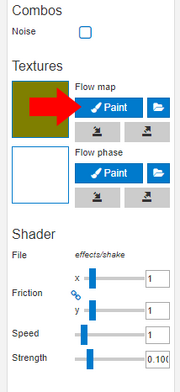
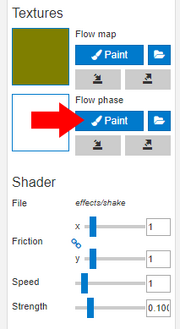
Click on paint of the flow map to start defining the fur animation.

Click and drag to paint a uniform motion for the fur. Make sure to paint in one direction where possible or it would reverse the shake effect.
Click OK to save your paint changes

After painting the fur direction, click on the paint option of the flow phase texture.

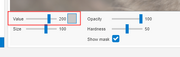
Change the paint value to 200.
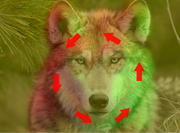
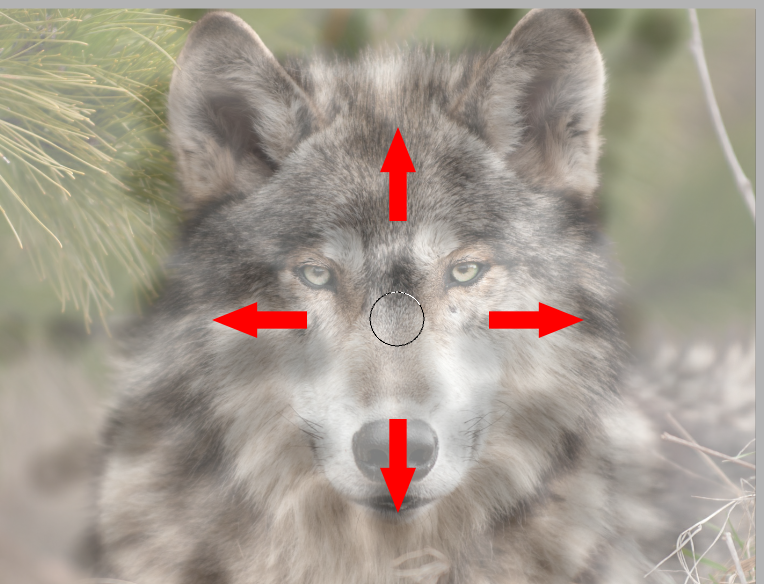
Now draw a few paint strokes from the center across the shake animation to the outside. You don't have to worry about painting over areas that don't have fur. Doing this will add some variation to the animation.
Click OK to save your paint changes

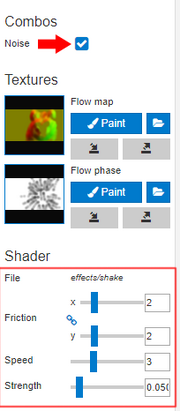
All that's left to do is tweak the shake settings.
- Enable the noise option.
- Set friction to 2.
- Speed to 3.
- Strength to 0.05.
Add Ear animation[]
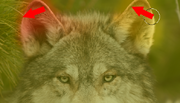
Start by adding a second Image Effect Shake to the image and begin painting the flow map texture.

Paint across the ears from right to left. Make sure that the paint is stronger at the top and weak near the joint. You can change the value to 0 and lower the opacity to smoothly reduce it towards the joint.
Click OK to save your paint changes

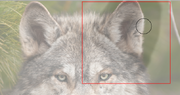
Start painting the flow phase. Change the value to 200 and paint an area around the right ear. This will make the right ear animate a bit later instead of moving them in perfect unison.
Click OK to save your paint changes
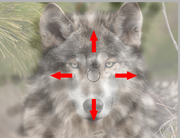
Result[]