This tutorial will show you how to add a custom color option to the browser and use it in your scene wallpaper. Make sure you checked out the basic guides for the Editor and Scene Wallpaper!
Preparation[]
- Open the Editor.
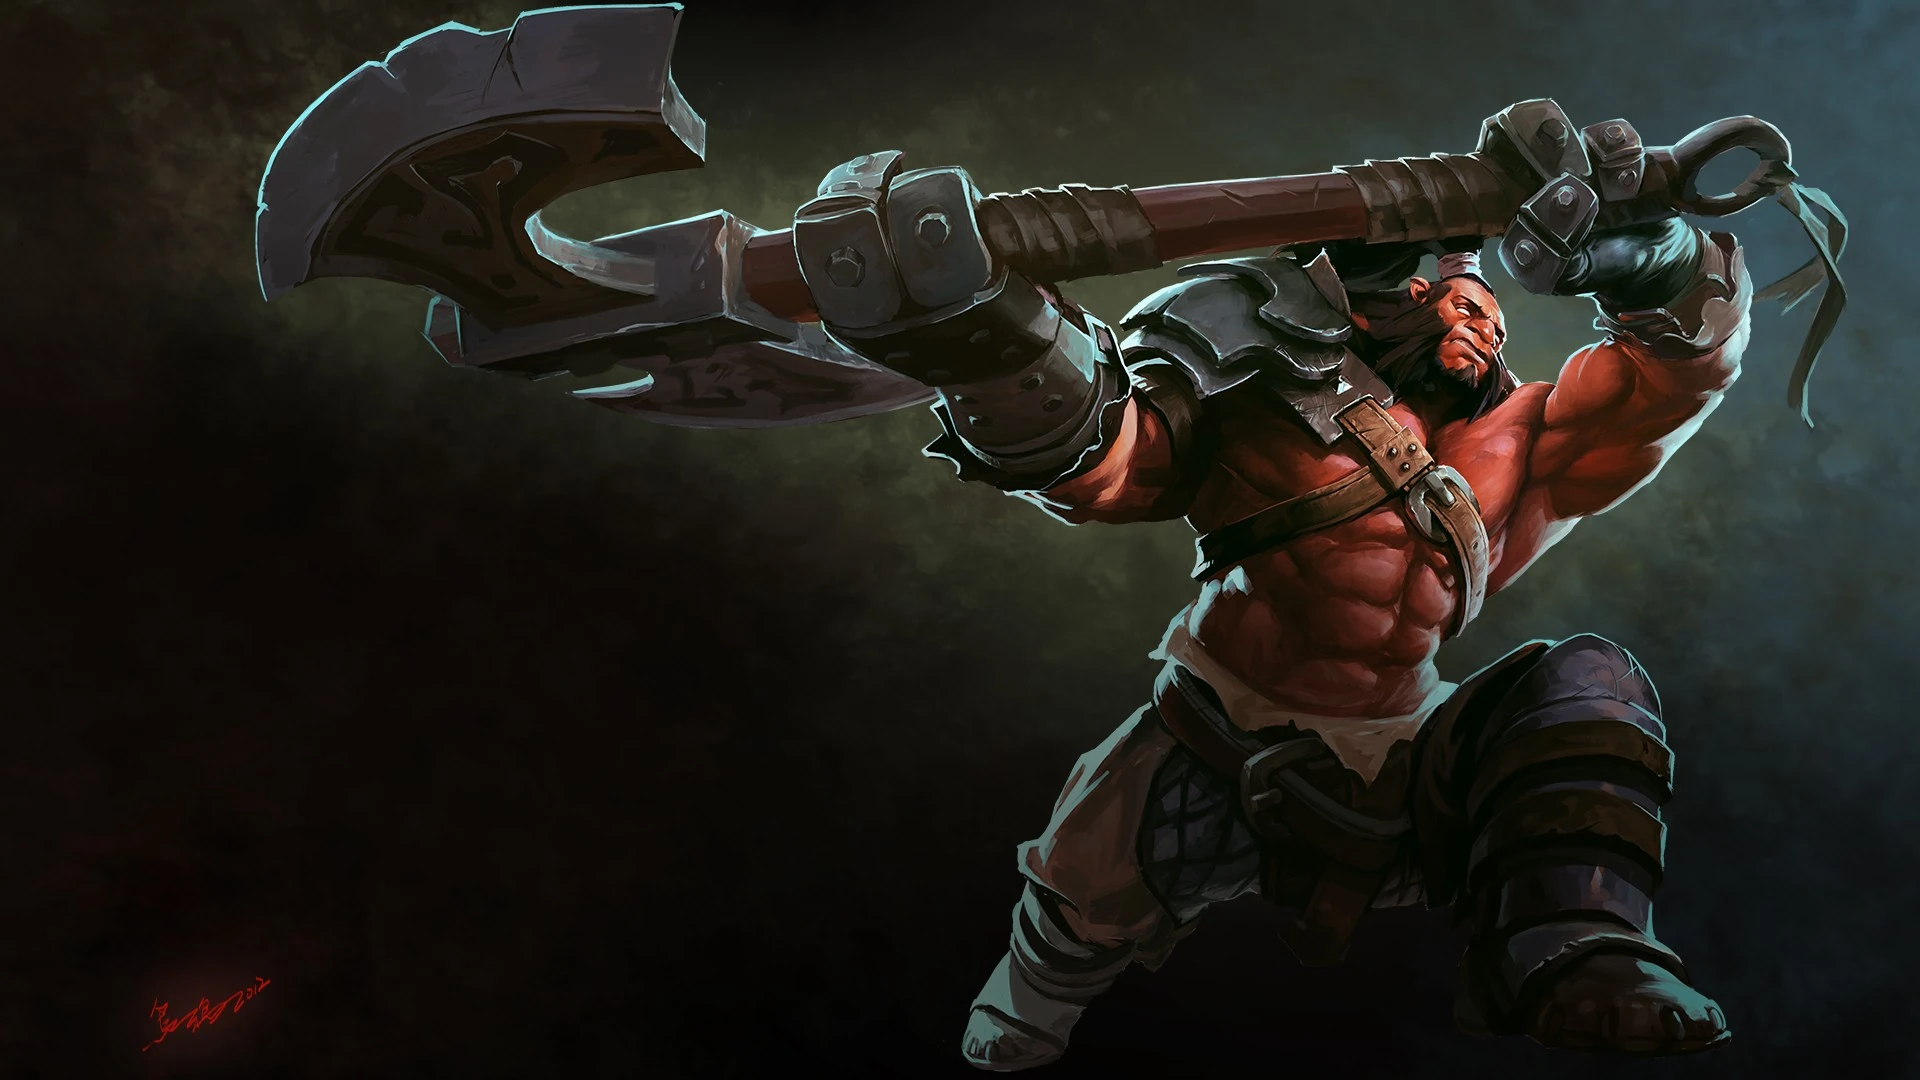
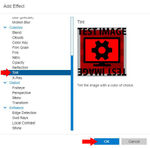
- Get an image you want to animate, for example this:

Import the Image[]
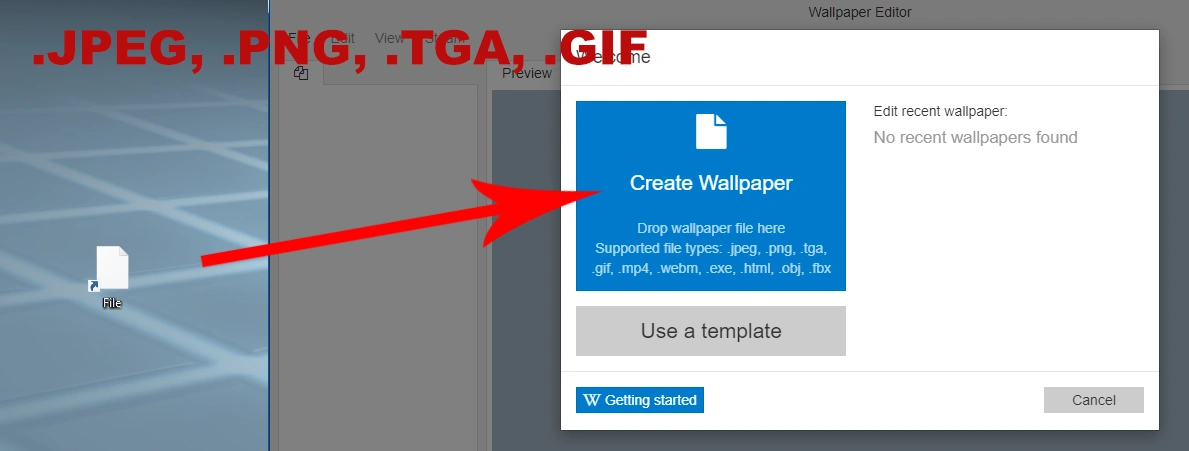
Drag and drop the image into the editor.

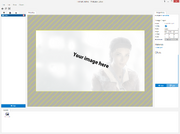
The project name and scheme color will be automatically set, you can change them if you like. Press OK to import the image and create the wallpaper.

A new wallpaper will be created and the image should become visible.
Add Tint effect[]

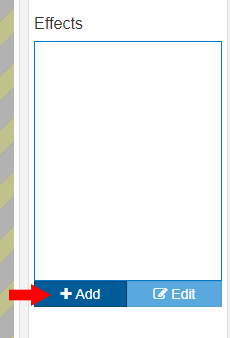
Select the image on the left and then click Add in the effects menu to add a new effect.

Select Image Effect Tint and click OK.
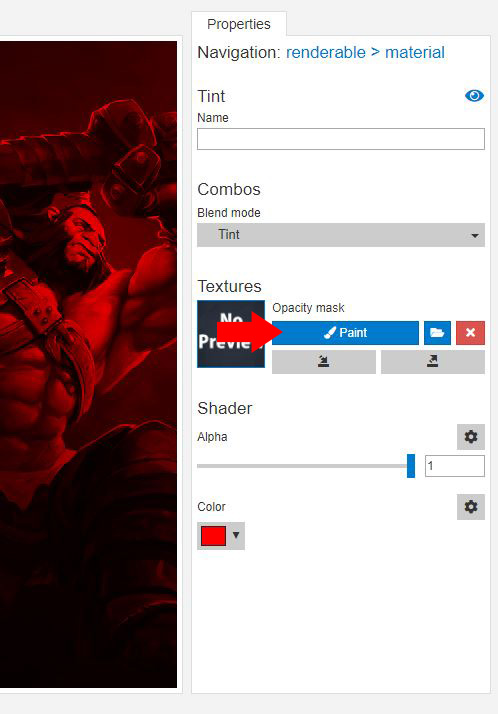
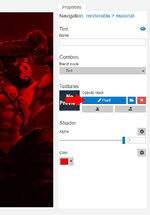
By default, the effect is applied to the entire image. To limit it to a certain area, click on paint near the opacity mask option.
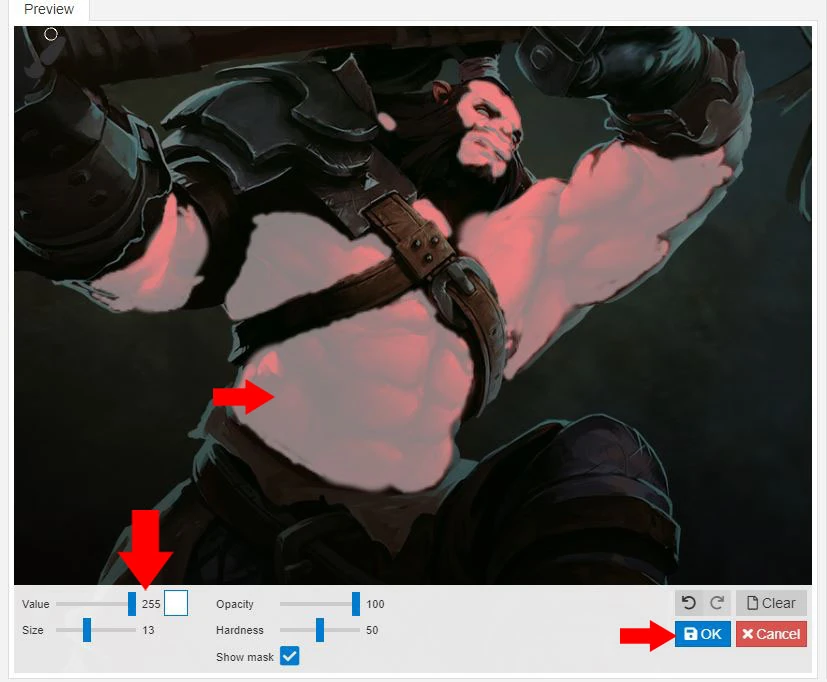

Make sure value is set to 255 and start painting the part that you want to color. Then press OK.
Link User Variable[]
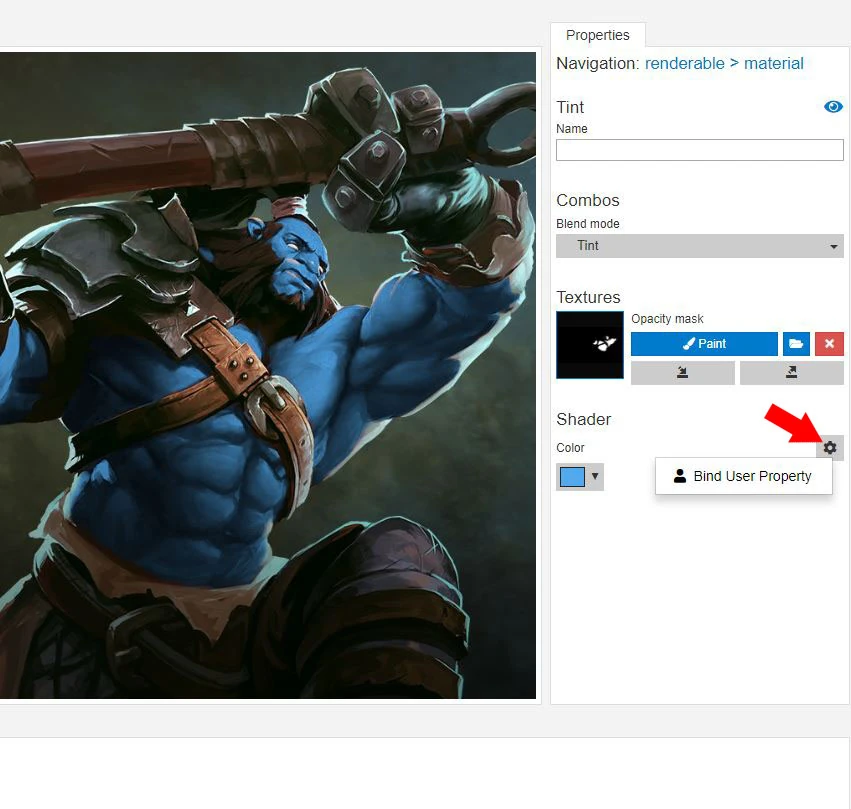
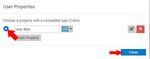
Click on the small gear icon next to the tint color on the right. Choose Bind User Property.
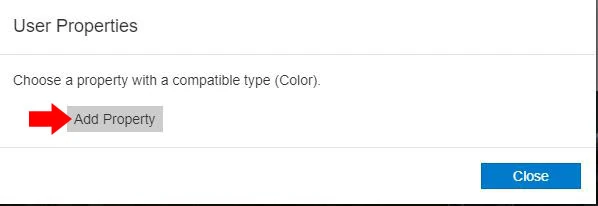
Click on Add Property to create a new color property.

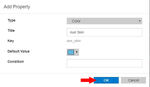
Fill in the values you like, choose a default color for the user, and press OK.

The property will be auto selected if it is new, just close the dialog now and the property will be linked.
💡 Pro tip: You can edit and sort all of your user properties in the Edit -> Project Settings menu later as well.
Result[]

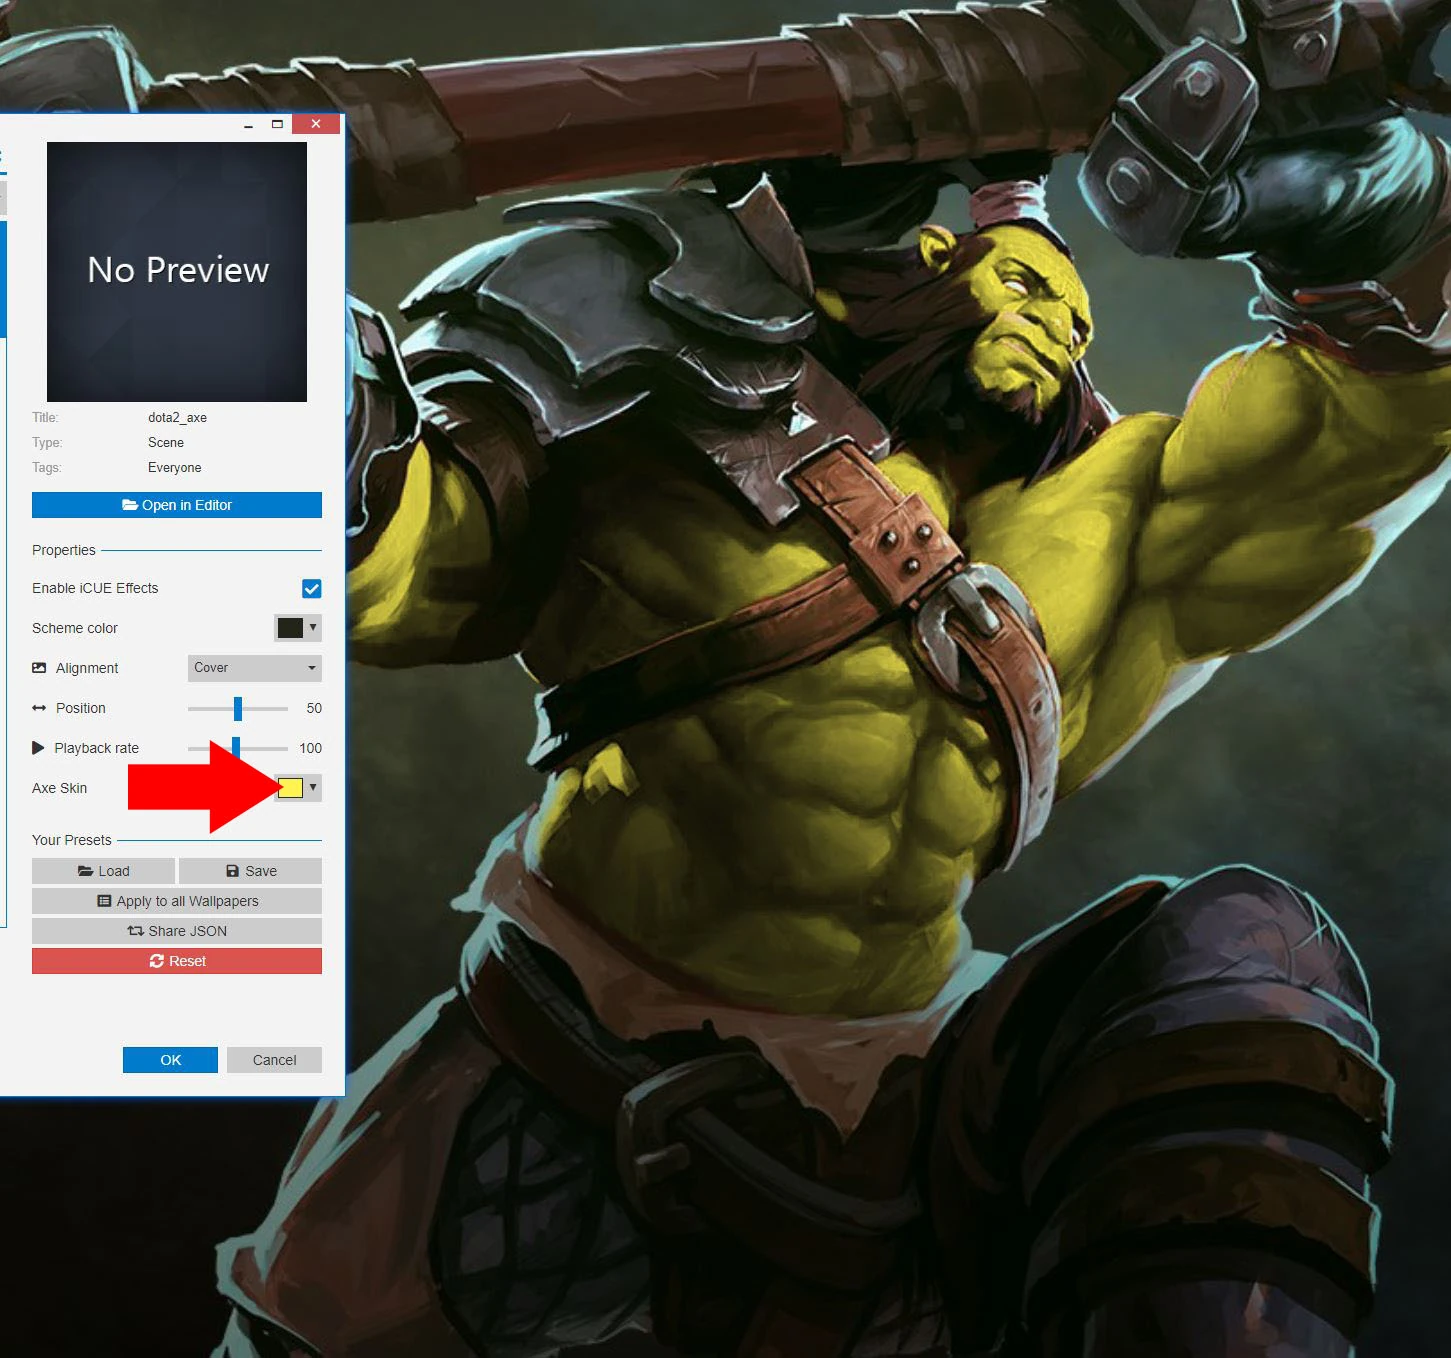
The wallpaper will show the user property in the browser now. Changing this property will also change the color of the wallpaper on your desktop!